An Ode to the Dynamic Dipole

24 June 2025
Yagis are yielding. Loops are lovely. Verticals are versatile. And dipoles? Well, they’re just downright dynamic—at least in my humble opinion.
I’ve mentioned previously that I was largely unaware of the service I could provide the ham community when I landed on Wake with my radio. The 20- and 40-meter dipole I inherited from Tom (NL7RR left it from his previous visit) worked initially to get on the air. Then came the requests for other bands. I quickly turned to making simple dipole antennas to open up more usable frequencies and make more contacts.
To me, the versatility is in the simplicity—and vice versa. Sure, I’d love a multiband antenna with 100 dB of gain that fits in my backpack, but I won’t hold my breath. As I’ve heard many times, all antennas are, in some way, a compromise.
Over my 14-year ham career, I’ve relied on dipoles the most. They’ve been my go-to for Summits On The Air (SOTA). I’ve dabbled with 9:1 and 49:1 wire antennas, and even a few verticals from summits—but in my opinion, a dipole for the band you want to play on just works.
Part of my encouragement with Richard (KR4CDI) to get his ham licenses (he’s now a newly minted General) was to see if he wanted to build his own antenna. Studying and passing tests is great, but measuring, cutting, and building your own antenna is a powerful way to turn theory into hands-on knowledge. Plus, that first contact you make on a homebrew antenna? It’s a real confidence booster. It’s a practical skill, too—right up there with other survival crafts. If the stuff hits the fan (winter storm, tornado, earthquake, etc.) and your main antenna is down, do you have the muscle memory to rig something up with whatever you have on hand?
That was the challenge I posed to Richard: let’s make a dipole (feedpoint and all) from scrap parts, cut some wire, and get on the air.
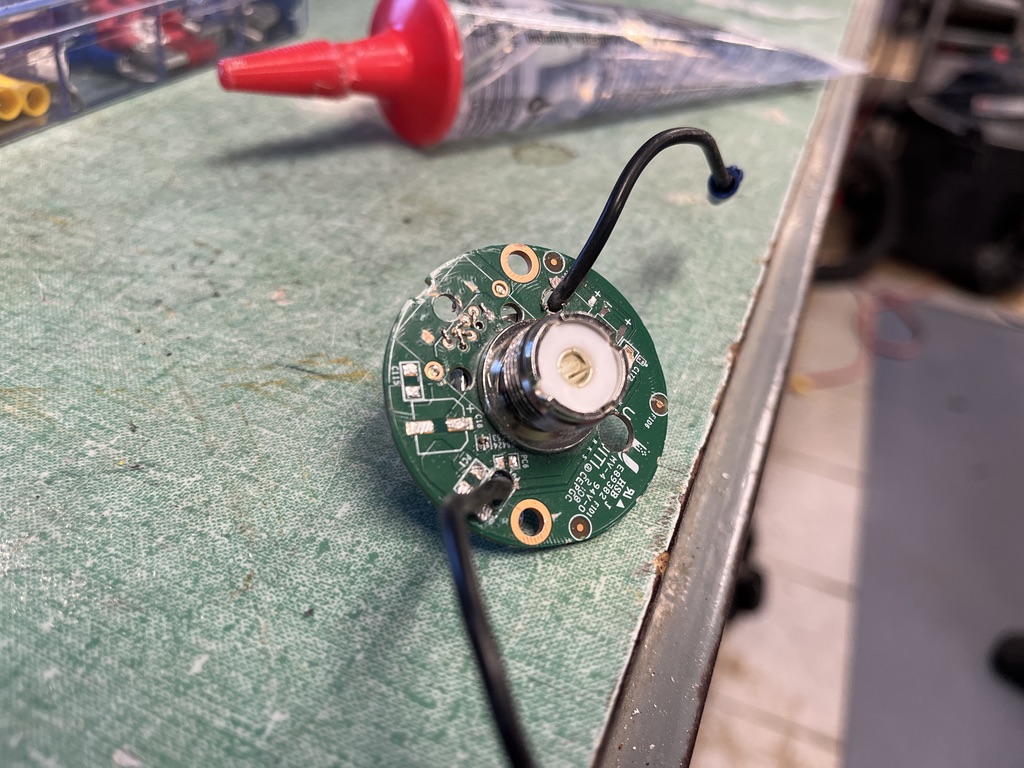
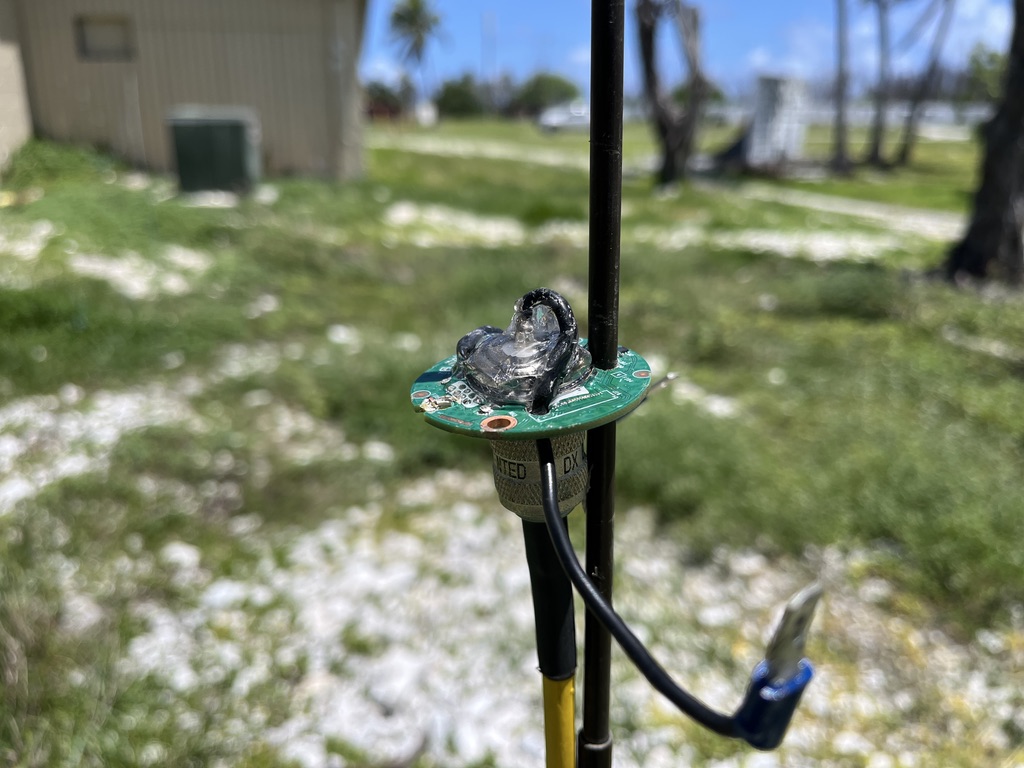
Last week, that’s exactly what we did. Richard found an old faceplate from a wall junction box. I grabbed a circular circuit board headed for the e-waste bin. Richard chose 20 meters. I assisted with the tape measure and—after measuring three times and adding a little “insurance” wire—he made the cuts. We drilled holes to affix the UHF connectors, and pre-drilled spots for the wire and for hoisting the feedpoint.
KR4CDI’s 1st Antenna 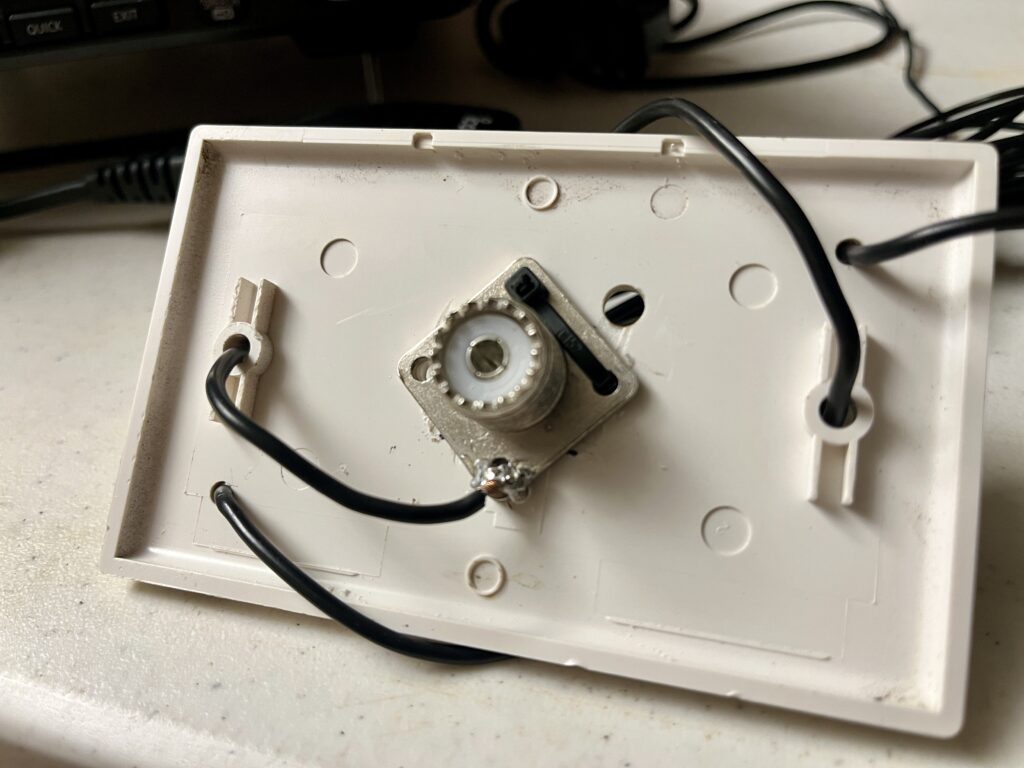
The Magical Math Behind Cutting Dipoles
So, how do you find that magical calculation to cut wire for the frequency you want? You can definitely do the math yourself—and I recommend writing it down somewhere safe if you don’t want to memorize it.
📏 In feet:**
**468 / f (in MHz) gives you the total length of a half-wave dipole (adjusted for the typical velocity factor of 0.95).
📐 In meters:**
**300 / f (in MHz) gives the full wavelength (λ), based on the speed of light in free space—more for physics-based planning.
🎯 For metric-minded builders:**
Use143 / f (in MHz)** to get the total dipole length in meters. Easy and globally friendly.
**Note — Those equations are meant to standard dipoles that are parallel to the ground. Height above ground will also play a role. As a dipole becomes more of an inverted-V, things change. Expect to cut, measure, and maybe cut again to get to the right sweet spot of the band you are looking for.
Or… just use an app.
My go-to site for dipole planning is the SOTAmaps page. Head over to SOTAmaps.org/extras. On the Extras page, you’ll find the Linked Antenna Designer. It’s great for single-band or multi-band dipoles—just set “Number of Bands” to 1 (or more), pick your band (or enter the exact frequency), and choose feet or meters. Lastly, just estimate antenna height and support spacing, and hit Calculate, and boom—you’ve got blueprints for frequency freedom.

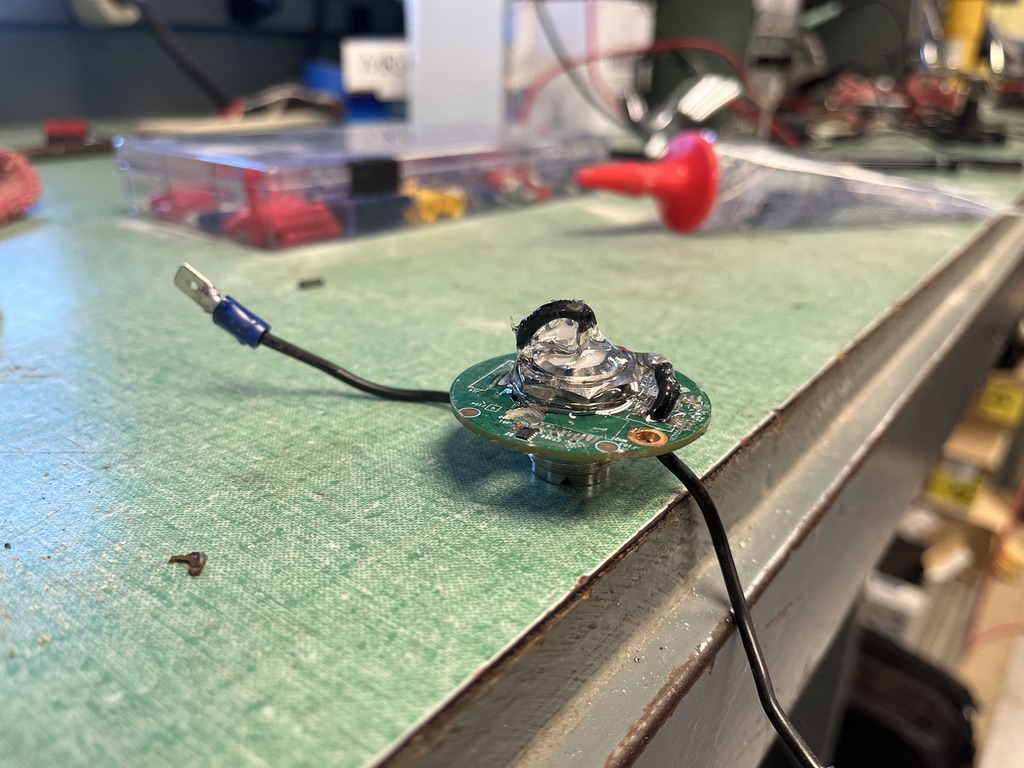
From there, you can save or export your plan and start building. I always add a bit of extra wire for the feedpoint connection loop and for tying off the end supports. I like to solder my crimp connections to boost conductivity, improve strength, and seal out moisture. Those crimped spade connectors also allow you to change out the wires for whatever band you would like. I now have lengths for 6, 12, 15, 17, and 30 meters.
Let’s Hear from You
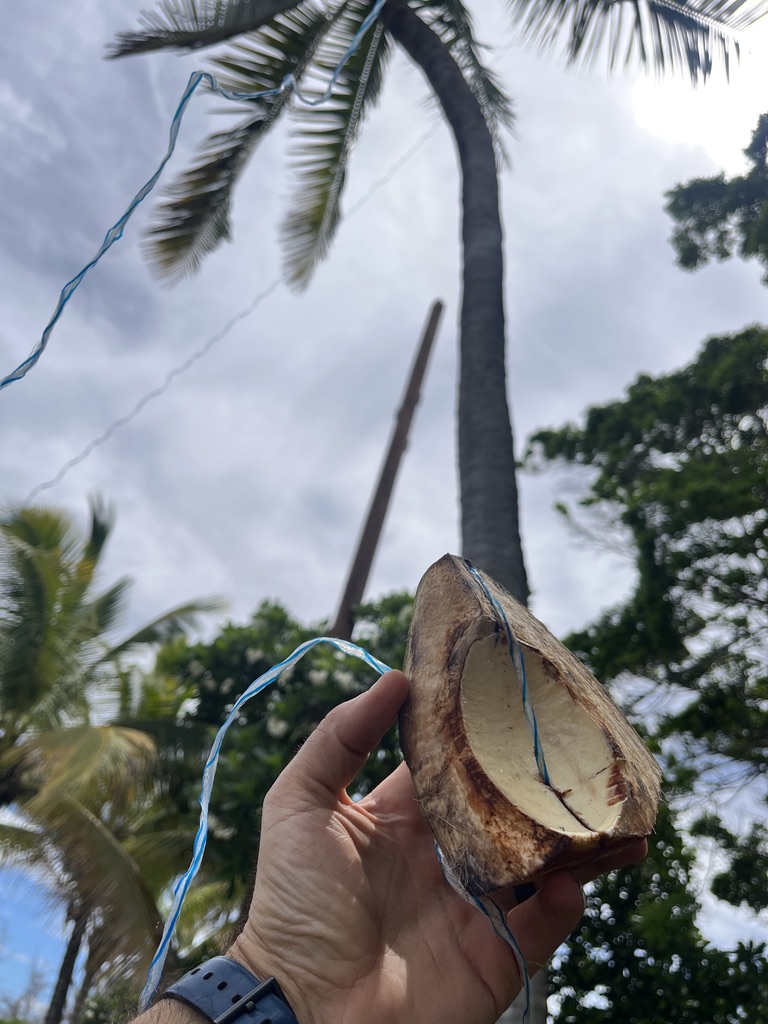
What random item have you used as a feedpoint for an antenna? Share in the comments below—I’d love to hear about your creative solutions.
PS - I will not soon forget the smile I witnessed on Richard’s face after he landed that first contact. Giddy Up!
73, Allen